极海APM32F411V Tiny开发板评测05——GCC Makefile Pyocd 工程模板建立
极海APM32F411V Tiny开发板评测 GCC Makefile Pyocd 工程模板建立
一、移植前的准备
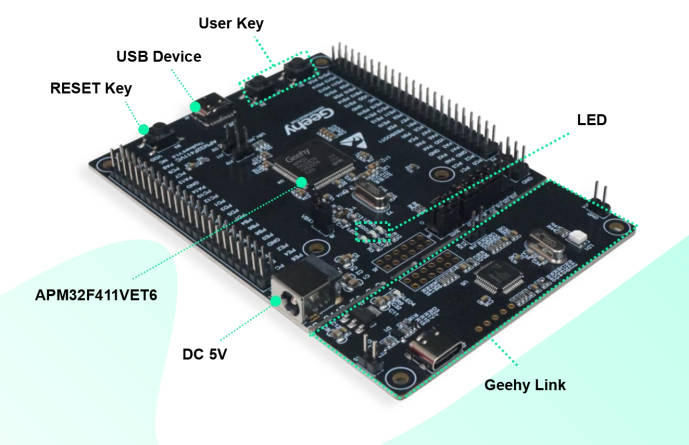
1. 准备目标硬件(开发板/芯片/模组)
本教程将使用极海APM32F411V Tiny开发板进行示例移植。调试ARM Cortex M核还需要仿真器,如果您的开发板或者芯片模组没有板载仿真器,就需要连接外置的仿真器,如DAPLink之类的。
2.准备编译器环境
1)Windows or Linux (Windows,linux基本环境流程差不多,可能需要修改部分Makefile代码)
2)Jlink、Daplink、Wch-Link烧录器
3)GNU Arm Embedded Toolchain交叉编译器
4)Mingw-w64 GCC for Windows 64
3.Windows环境搭建
GNU Arm Embedded Toolchain交叉编译器安装
进入arm开发者官网,往下滑动选择下载解压可用的ZIP压缩包文件
下载链接: Downloads | GNU Arm Embedded Toolchain Downloads – Arm Developer

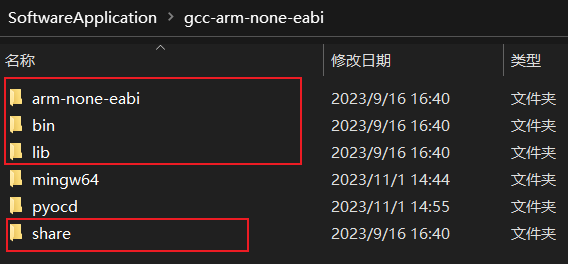
将下载好的压缩包文件解压在gcc-arm-none-eabi”文件夹中,并记住文件内“bin”文件的路径,后续需添加到系统环境变量Path中。
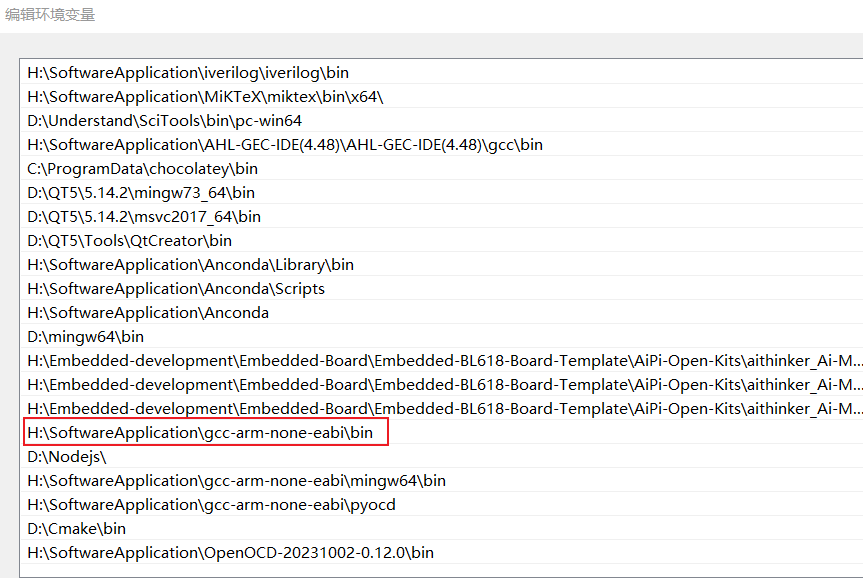
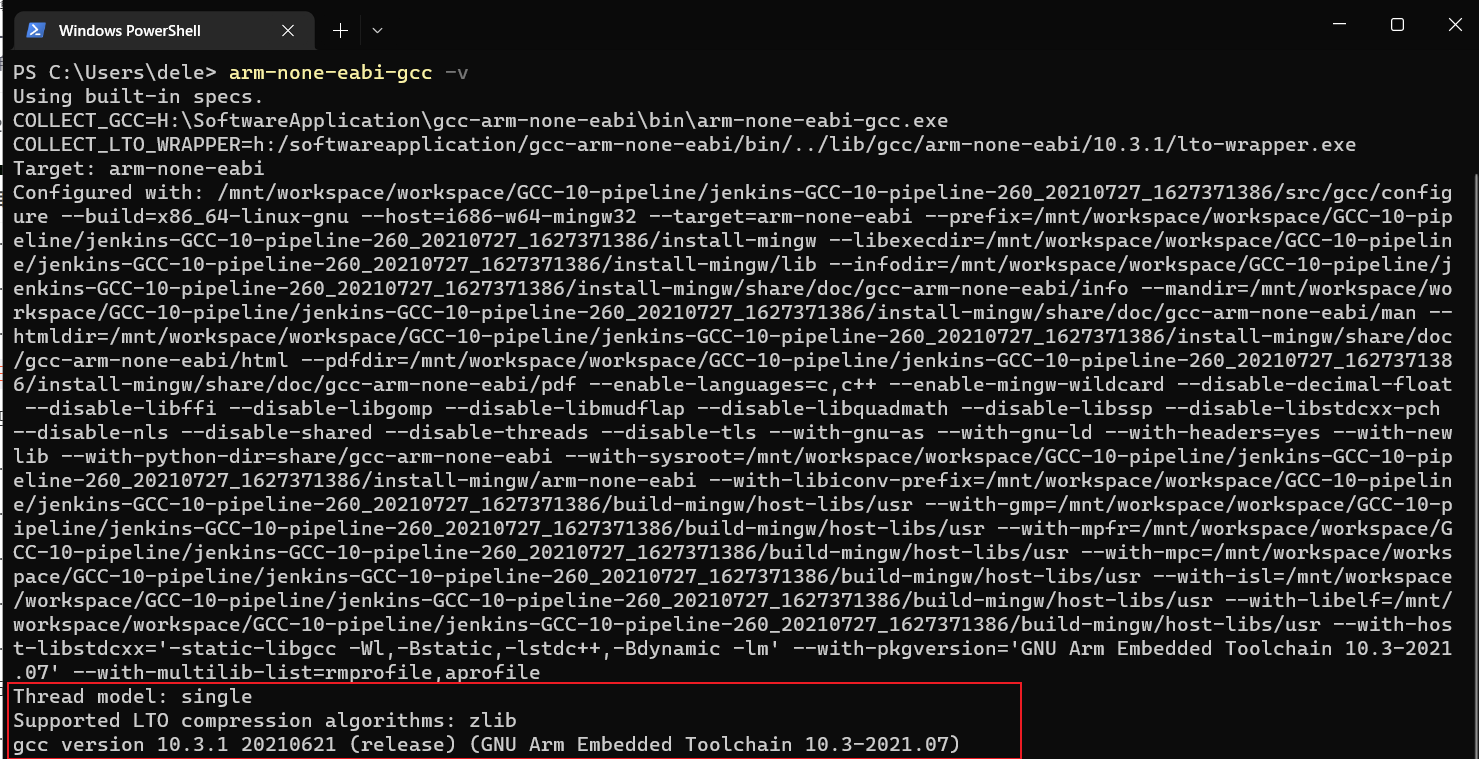
添加完环境变量后,进行测试,检测是否安装好。
安装Mingw-w64 GCC
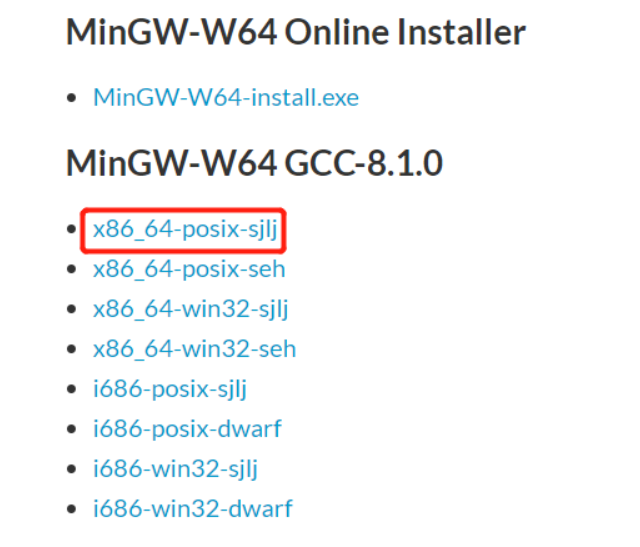
点击链接进入到SourceForge官网,往下翻可以找到很多版本的下载链接,选择红色框内型号即可,不同前后缀的具体差异请参考:
MinGW gcc下载链接及sjlj、dwarf、seh异同以及gcc安装_AMDDMA的博客-CSDN博客_seh和sjlj
下载链接:
MinGW-w64 - for 32 and 64 bit Windows - Browse Files at SourceForge.net
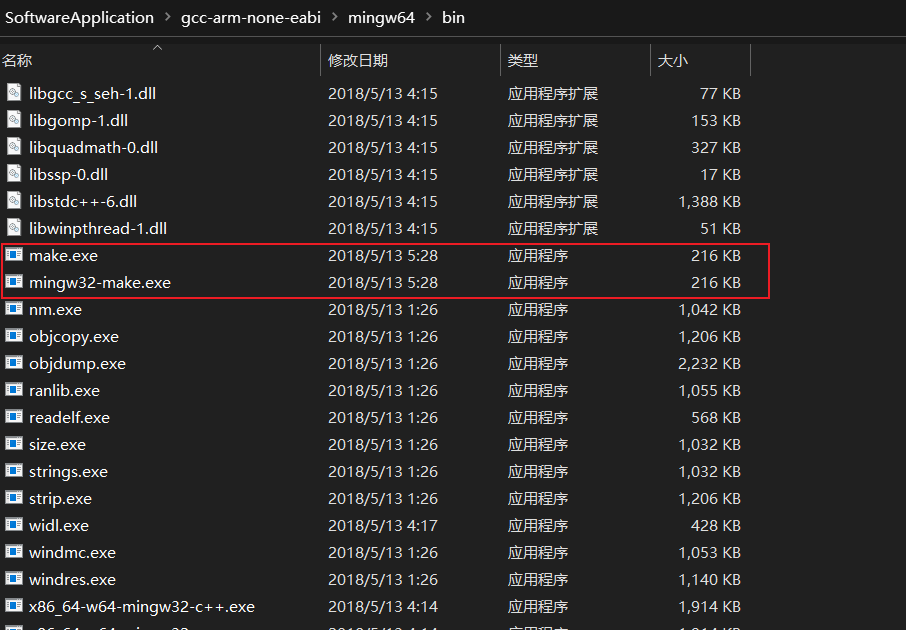
同样,将下载好的文件解压到“gcc-arm-none-eabi”文件夹下,记住目录下的“bin”文件路径
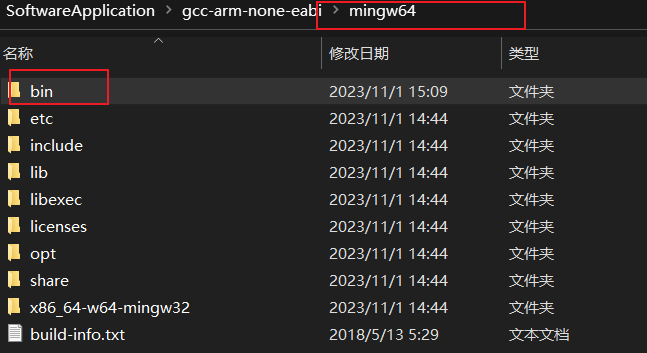
进入“bin”文件内找到“mingw32-make”应用程序文件,复制一份并重命名为“make”。这么做有利于在命令行执行make指令,而不是输入mingw32-make。
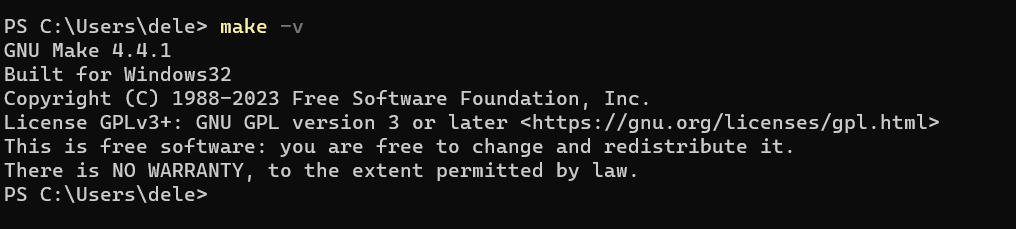
添加完环境变量后,进行测试,检测是否安装好。

3.创建工程,编写Makefile
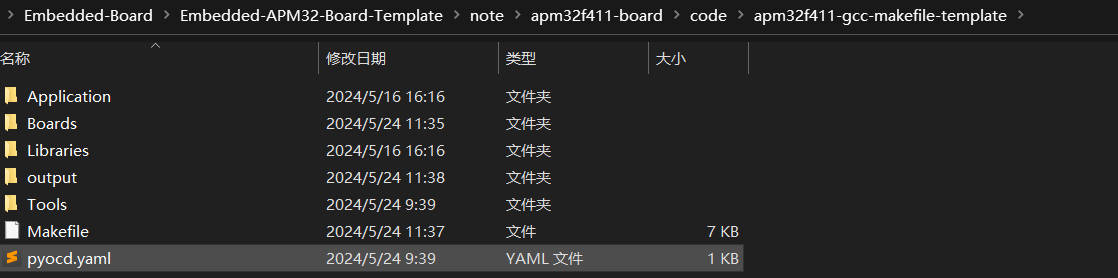
工程结构
Makefile
######################################
# target
######################################
TARGET = apm32f411_gcc_template
######################################
# building variables
######################################
# debug build?
DEBUG = 1
# optimization
OPT = -Og
#######################################
# paths
#######################################
# Build path
BUILD_DIR = output
######################################
# source
######################################
# C sources
C_SOURCES = \
Application/Source/main.c \
Application/Source/apm32f4xx_int.c \
Application/Source/system_apm32f4xx.c \
Boards/Board_APM32F411_TINY.c \
Libraries/APM32F4xx_StdPeriphDriver/src/apm32f4xx_adc.c \
Libraries/APM32F4xx_StdPeriphDriver/src/apm32f4xx_can.c \
Libraries/APM32F4xx_StdPeriphDriver/src/apm32f4xx_crc.c \
Libraries/APM32F4xx_StdPeriphDriver/src/apm32f4xx_cryp.c \
Libraries/APM32F4xx_StdPeriphDriver/src/apm32f4xx_cryp_aes.c \
Libraries/APM32F4xx_StdPeriphDriver/src/apm32f4xx_cryp_des.c \
Libraries/APM32F4xx_StdPeriphDriver/src/apm32f4xx_cryp_tdes.c \
Libraries/APM32F4xx_StdPeriphDriver/src/apm32f4xx_dac.c \
Libraries/APM32F4xx_StdPeriphDriver/src/apm32f4xx_dbgmcu.c \
Libraries/APM32F4xx_StdPeriphDriver/src/apm32f4xx_dci.c \
Libraries/APM32F4xx_StdPeriphDriver/src/apm32f4xx_dma.c \
Libraries/APM32F4xx_StdPeriphDriver/src/apm32f4xx_dmc.c \
Libraries/APM32F4xx_StdPeriphDriver/src/apm32f4xx_eint.c \
Libraries/APM32F4xx_StdPeriphDriver/src/apm32f4xx_fmc.c \
Libraries/APM32F4xx_StdPeriphDriver/src/apm32f4xx_gpio.c \
Libraries/APM32F4xx_StdPeriphDriver/src/apm32f4xx_hash.c \
Libraries/APM32F4xx_StdPeriphDriver/src/apm32f4xx_hash_md5.c \
Libraries/APM32F4xx_StdPeriphDriver/src/apm32f4xx_hash_sha1.c \
Libraries/APM32F4xx_StdPeriphDriver/src/apm32f4xx_i2c.c \
Libraries/APM32F4xx_StdPeriphDriver/src/apm32f4xx_iwdt.c \
Libraries/APM32F4xx_StdPeriphDriver/src/apm32f4xx_misc.c \
Libraries/APM32F4xx_StdPeriphDriver/src/apm32f4xx_pmu.c \
Libraries/APM32F4xx_StdPeriphDriver/src/apm32f4xx_rcm.c \
Libraries/APM32F4xx_StdPeriphDriver/src/apm32f4xx_rng.c \
Libraries/APM32F4xx_StdPeriphDriver/src/apm32f4xx_rtc.c \
Libraries/APM32F4xx_StdPeriphDriver/src/apm32f4xx_sdio.c \
Libraries/APM32F4xx_StdPeriphDriver/src/apm32f4xx_smc.c \
Libraries/APM32F4xx_StdPeriphDriver/src/apm32f4xx_spi.c \
Libraries/APM32F4xx_StdPeriphDriver/src/apm32f4xx_syscfg.c \
Libraries/APM32F4xx_StdPeriphDriver/src/apm32f4xx_tmr.c \
Libraries/APM32F4xx_StdPeriphDriver/src/apm32f4xx_usart.c \
Libraries/APM32F4xx_StdPeriphDriver/src/apm32f4xx_wwdt.c
# ASM sources
ASM_SOURCES = \
Tools/startup_apm32f411.s
#######################################
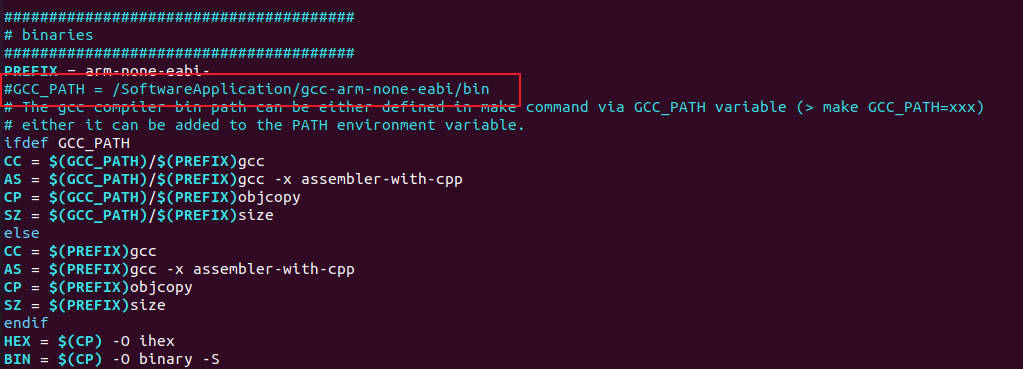
# binaries
#######################################
PREFIX = arm-none-eabi-
GCC_PATH = /SoftwareApplication/gcc-arm-none-eabi/bin # 添加gcc-arm-none-eabi路径
# The gcc compiler bin path can be either defined in make command via GCC_PATH variable (> make GCC_PATH=xxx)
# either it can be added to the PATH environment variable.
ifdef GCC_PATH
CC = $(GCC_PATH)/$(PREFIX)gcc
AS = $(GCC_PATH)/$(PREFIX)gcc -x assembler-with-cpp
CP = $(GCC_PATH)/$(PREFIX)objcopy
SZ = $(GCC_PATH)/$(PREFIX)size
else
CC = $(PREFIX)gcc
AS = $(PREFIX)gcc -x assembler-with-cpp
CP = $(PREFIX)objcopy
SZ = $(PREFIX)size
endif
HEX = $(CP) -O ihex
BIN = $(CP) -O binary -S
#######################################
# CFLAGS
#######################################
# cpu
CPU = -mcpu=cortex-m4
# fpu
FPU = -mfpu=fpv4-sp-d16
# float-abi
FLOAT-ABI = -mfloat-abi=hard
# mcu
MCU = $(CPU) -mthumb $(FPU) $(FLOAT-ABI)
# macros for gcc
# AS defines
AS_DEFS =
# C defines
C_DEFS = \
-DAPM32F411 \
-DAPM32F411_TINY
# AS includes
AS_INCLUDES =
# C includes
C_INCLUDES = \
-ILibraries/APM32F4xx_StdPeriphDriver/inc \
-ILibraries/Device/Geehy/APM32F4xx/Include \
-ILibraries/CMSIS/Include \
-IBoards \
-IApplication/Include \
# compile gcc flags
ASFLAGS = $(MCU) $(AS_DEFS) $(AS_INCLUDES) $(OPT) -Wall -fdata-sections -ffunction-sections
CFLAGS += $(MCU) $(C_DEFS) $(C_INCLUDES) $(OPT) -Wall -fdata-sections -ffunction-sections
ifeq ($(DEBUG), 1)
CFLAGS += -g -gdwarf-2
endif
# Generate dependency information
CFLAGS += -MMD -MP -MF"$(@:%.o=%.d)"
#######################################
# LDFLAGS
#######################################
# link script
LDSCRIPT = Tools/APM32F4xxxE_FLASH.ld
# libraries
LIBS = -lc -lm -lnosys
LIBDIR =
LDFLAGS = $(MCU) -specs=nano.specs -T$(LDSCRIPT) $(LIBDIR) $(LIBS) -Wl,-Map=$(BUILD_DIR)/$(TARGET).map,--cref -Wl,--gc-sections
# default action: build all
all: $(BUILD_DIR)/$(TARGET).elf $(BUILD_DIR)/$(TARGET).hex $(BUILD_DIR)/$(TARGET).bin
#######################################
# build the application
#######################################
# list of objects
OBJECTS = $(addprefix $(BUILD_DIR)/,$(notdir $(C_SOURCES:.c=.o)))
vpath %.c $(sort $(dir $(C_SOURCES)))
# list of ASM program objects
OBJECTS += $(addprefix $(BUILD_DIR)/,$(notdir $(ASM_SOURCES:.s=.o)))
vpath %.s $(sort $(dir $(ASM_SOURCES)))
$(BUILD_DIR)/%.o: %.c Makefile | $(BUILD_DIR)
@echo "[CC] $<"
@$(CC) -c $(CFLAGS) -Wa,-a,-ad,-alms=$(BUILD_DIR)/$(notdir $(<:.c=.lst)) $< -o $@
$(BUILD_DIR)/%.o: %.s Makefile | $(BUILD_DIR)
@echo "[AS] $<"
@$(AS) -c $(CFLAGS) $< -o $@
$(BUILD_DIR)/$(TARGET).elf: $(OBJECTS) Makefile
@echo "[HEX] $< -> $@"
@$(CC) $(OBJECTS) $(LDFLAGS) -o $@
@$(SZ) $@
$(BUILD_DIR)/%.hex: $(BUILD_DIR)/%.elf | $(BUILD_DIR)
@echo "[HEX] $< -> $@"
@$(HEX) $< $@
$(BUILD_DIR)/%.bin: $(BUILD_DIR)/%.elf | $(BUILD_DIR)
@echo "[BIN] $< -> $@"
@$(BIN) $< $@
$(BUILD_DIR):
@mkdir $@
#######################################
# flash
#######################################
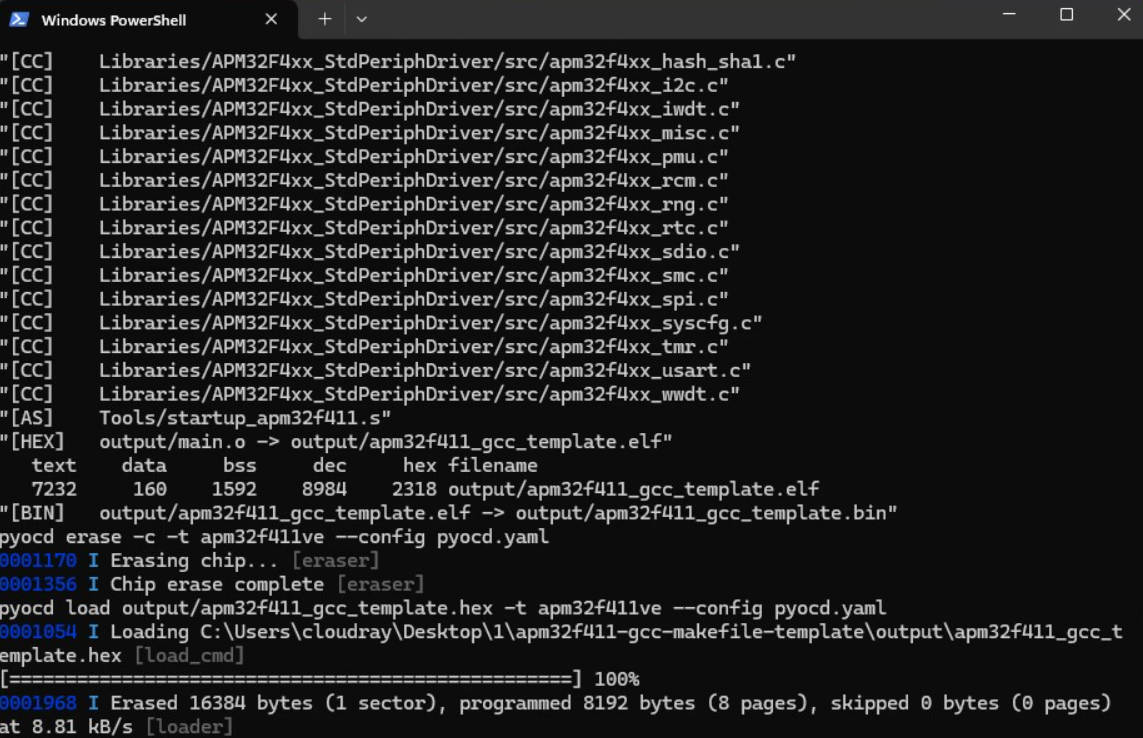
flash: $(BUILD_DIR)/$(TARGET).bin
pyocd erase -c -t apm32f411ve --config pyocd.yaml
pyocd load output/$(TARGET).hex -t apm32f411ve --config pyocd.yaml
#pyocd load -e sector -t apm32f411vc $(BUILD_DIR)/$(TARGET).bin
#pyocd flash --erase chip --target apm32f411ve --pack=Geehy.APM32F4xx_DFP.1.0.4.pack $(BUILD_DIR)/$(TARGET).hex
#######################################
# clean up
#######################################
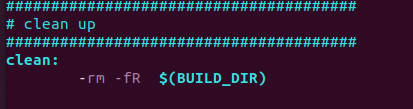
clean:
-del /q $(BUILD_DIR) # del windows系统删除命令
#######################################
# dependencies
#######################################
-include $(wildcard $(BUILD_DIR)/*.d)
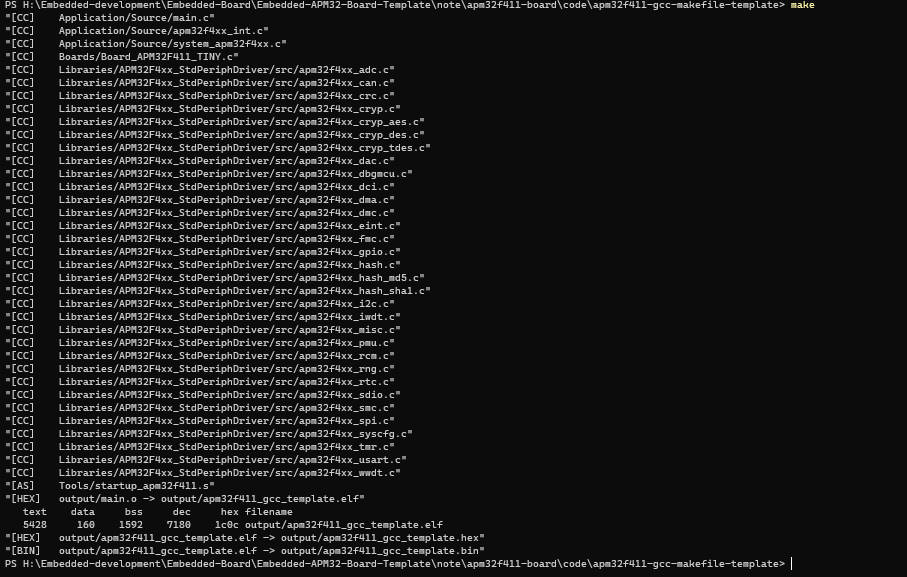
# *** EOF ***编译
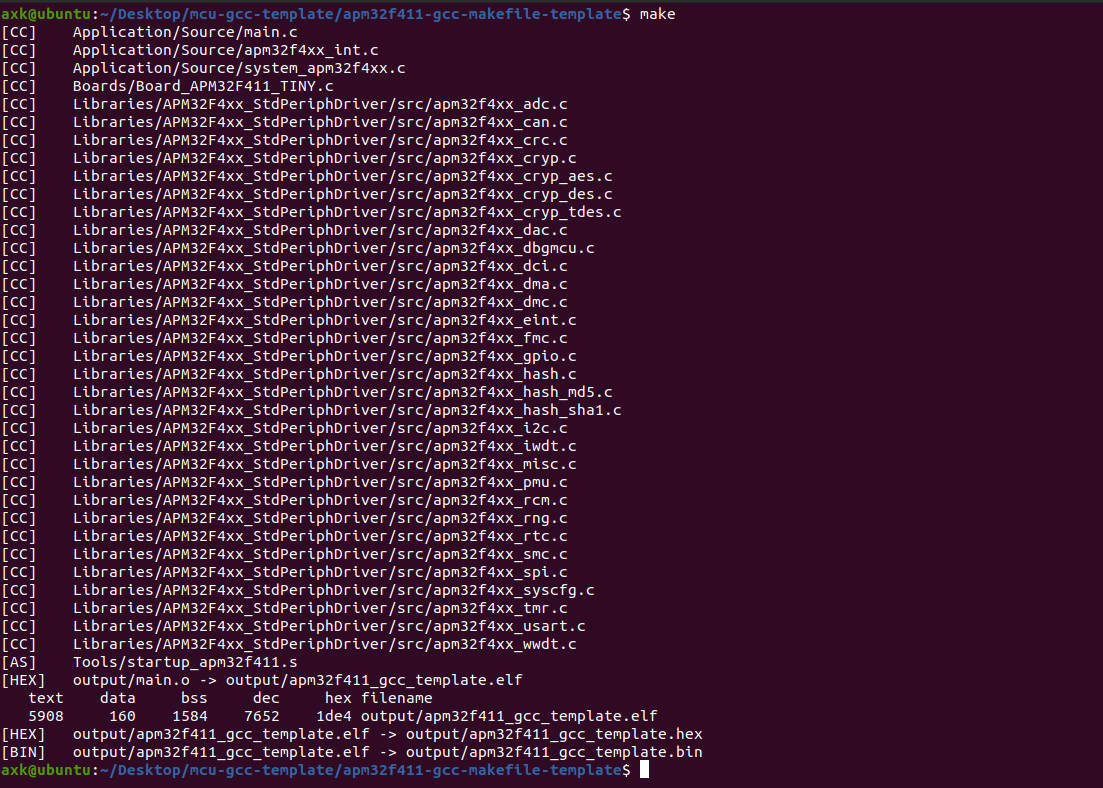
执行make命令
4.Linux环境搭建
安装GNU Arm Embedded Toolchain交叉编译器
进入arm开发者官网,往下滑动选择下载解压可用的ZIP压缩包文件 ,选择linux版本
也可以直接在linux系统中下载,这里使用的Ubuntu 22.04
sudo apt-get install gcc-arm-none-eabi下载完成查看
arm-none-eabi-gcc -v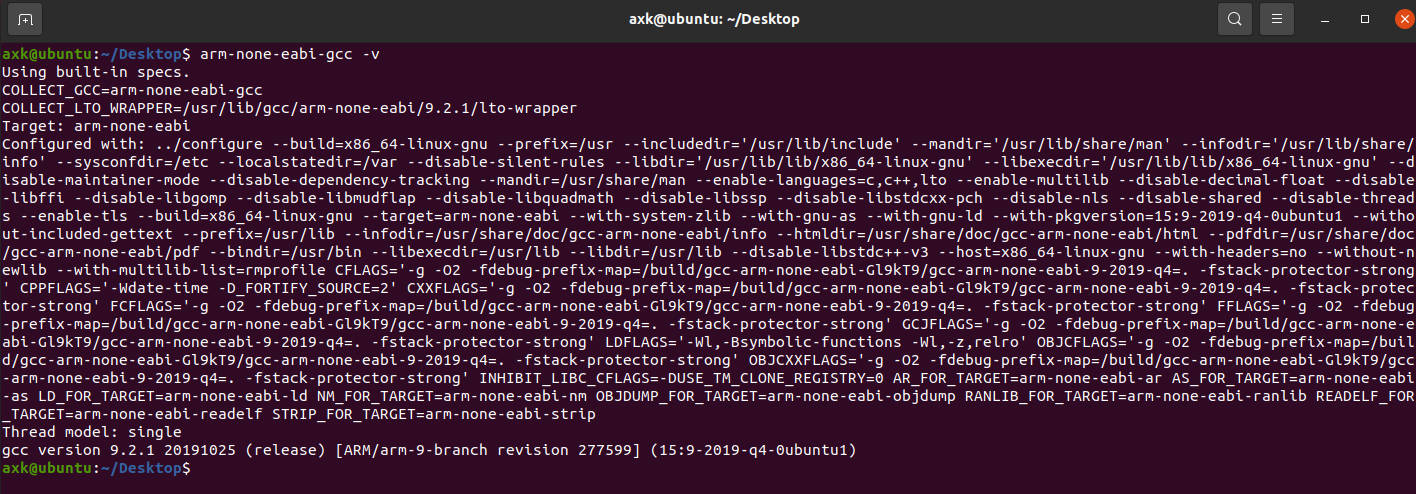
修改Makefile
注释GCC_PATH
修改 clean命令
make
5.下载程序
注意 printf重定向
/*!
* @brief Redirect C Library function printf to serial port.
* After Redirection, you can use printf function.
*
* @param ch: The characters that need to be send.
*
* @retval The characters that need to be send.
*
* @note
*/
int __io_putchar(int ch)
{
/* send a byte of data to the serial port */
USART_TxData(DEBUG_USART, ch);
/* wait for the data to be send */
while (USART_ReadStatusFlag(DEBUG_USART, USART_FLAG_TXBE) == RESET);
return ch;
}
/*!
* @brief Redirect C Library function printf to serial port.
* After Redirection, you can use printf function.
*
* @param file: Meaningless in this function.
*
* @param *ptr: Buffer pointer for data to be sent.
*
* @param len: Length of data to be sent.
*
* @retval The characters that need to be send.
*
* @note
*/
int _write(int file, char* ptr, int len)
{
int i;
for (i = 0; i < len; i++)
{
__io_putchar(*ptr++);
}
return len;
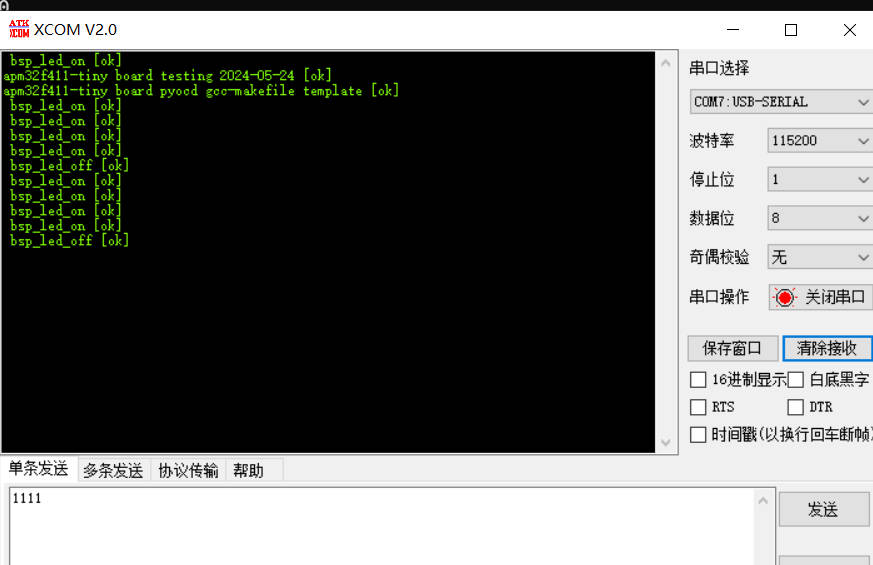
}测试结果
pyocd daplink 下载